
Laravelを使って簡単にReactを開発できる環境を作成する
はじめに
こんにちわ、かつてモダンなフロントエンドに敗北した者です。 前回挫折した際はバックエンドがPython、Django。フロントエンドがReact、TypeScriptでした。 PHPがメインな自分にはアウェー感があります。 今回はリベンジすべくバックエンドを自分の得意なPHP、Laravelにすることで、新しく始めるReactでのフロントエンド開発のみに集中できる環境をつくってみたいとおもいます。
React開発環境を簡単に作るためのlaravel/breeze
LaravelにはInertiaというReactやVueを使って本格的なモダンフロントエンドを構築するためのパッケージがあります。
ですが
フォルダの配置、ミドルウェアの作成、最初に読み込むテンプレートの作成、app.tsxの作成などなど手動での準備が必要になります。
なのでこれはとばします。
この準備を省いてくれるのがlaravel/breezeです breezeは認証機能を提供するlaravelのプラグインですが、通常のbladeテンプレート以外にLivewire、Vue、Reactなどのフロントエンドを選ぶことができます。 なにせ一回挫折した人間、手軽にフロントエンドのみを開発できるようにしたいのです。
環境を作成する
Laravelプロジェクトの作成
- PHP 8.3
- Laravel 12
このバージョンでプロジェクトをローカル環境に作成します。
このプロジェクトをdockerにマウントします。
composer create-project laravel/laravel new-projectdockerコンテナの設定
dockerで
- nginx
- php-fpm
- mysql
のコンテナを作成します
フォルダ構成はこんな感じ
docker
├ mysql
│ ├ mysql_data
│ └ my.cnf
├ nginx
│ └ default.conf
├ php-fpm
│ └ Dockerfile
└ docker-compose.yml
npm、composerなどのパッケージをインストールするため php-fpm はDockerfileを作成。
FROM php:8.3-fpm-bookworm

ENV TZ=Asia/Tokyo
ENV LANG en_US.UTF-8
ENV LANGUAGE en_US:en
ENV LC_ALL en_US.UTF-8

RUN apt-get update \
    && apt-get install -y \
        libcurl4-openssl-dev libzip-dev npm \
    && docker-php-ext-install pdo pdo_mysql curl phar zip

RUN curl -sS https://getcomposer.org/installer | php -- --install-dir=/usr/bin --filename=composer

EXPOSE 9000

ENTRYPOINT ["docker-php-entrypoint"]

CMD ["php-fpm"]
nginxのdefault.confファイルを作成
server {
    listen       80;
    listen  [::]:80;
    server_name  localhost;

    access_log  /var/log/nginx/host.access.log;
    error_log  /var/log/nginx/host.error.log;

    # Vite のホットリロードを許可するために必要
    location /_vite/ {
        proxy_pass http://host.docker.internal:5173;
        proxy_set_header Host $host;
        proxy_set_header X-Real-IP $remote_addr;
        proxy_set_header X-Forwarded-For $proxy_add_x_forwarded_for;
        proxy_set_header X-Forwarded-Proto $scheme;
    }

    location / {
        root   /usr/share/nginx/html/public;
        index  index.php index.html index.htm;
        try_files $uri /index.php?$query_string;
    }

    error_page  404              /404.html;

    # redirect server error pages to the static page /50x.html
    #
    error_page   500 502 503 504  /50x.html;
    location = /50x.html {
        root   /usr/share/nginx/html;
    }

    # pass the PHP scripts to FastCGI server listening on 127.0.0.1:9000
    #
    location ~ \.php$ {
        fastcgi_connect_timeout 600s;
        fastcgi_send_timeout 600s;
        fastcgi_read_timeout 600s;
        keepalive_timeout 600;
        send_timeout 600;
        root           /var/www/html/public;
        fastcgi_pass   php-fpm:9000;
        fastcgi_index  index.php;
        fastcgi_param  SCRIPT_FILENAME  $document_root/index.php;
        include        fastcgi_params;
    }
}
mysqlの文字コードを指定するmy.cnfを作成
[mysqld]
character-set-server=utf8mb4
collation-server=utf8mb4_general_ci

[client]
default-character-set=utf8mb4
docker-compose.ymlを作成
version: '3.8'

services:
  nginx:
    image: nginx:1.27.3
    platform: linux/amd64
    container_name: nginx
    restart: on-failure
    ports:
      - "80:80"
    volumes:
      - ./nginx/default.conf:/etc/nginx/conf.d/default.conf
      - ../new-project/public:/var/www/html/public
    depends_on:
      - php-fpm
      - mysql
  php-fpm:
    build:
      context: ../
      dockerfile: docker/php-fpm/Dockerfile
    container_name: php-fpm
    ports:
      - "5173:5173" # Viteのポートを追加する
    volumes:
      - ../new-project:/var/www/html
  mysql:
    image: mysql:8.0.23
    platform: linux/amd64
    container_name: mysql
    environment:
      MYSQL_ROOT_PASSWORD: root
      MYSQL_DATABASE: test_db
      MYSQL_USER: test_user
      MYSQL_PASSWORD: test_password
      TZ: Asia/Tokyo
    ports:
      - "13306:3306"
    volumes:
      - ./mysql/mysql_data:/var/lib/mysql
      - ./mysql/my.cnf:/etc/mysql/conf.d/my.cnf
ビルドを実行
docker compose -f docker/docker-compose.yml -p new-project buildコンテナを起動
docker compose -f docker/docker-compose.yml -p new-project up -dhttp://localhost/ でアクセスしてLaravelのページが表示されました。
laravel/breezeをインストールしてする
php-fpmコンテナで必要なパッケージをインストールします。
docker exec -it php-fpm /bin/bashlaravel/breezeプラグインをインストール
composer require laravel/breeze --devbreeze:installを実行
フロントはreactを指定。TypeScriptを指定する--typescriptオプションを追加
php artisan breeze:install react --typescriptこれで認証のための機能と、Reactのためのフォルダ構成、app.tsxなどのファイルが作成されます。
Vite のホットリロードを有効にする
Laravelの.envにVITE_APP_URLを追加
VITE_APP_URL=http://localhost:5173vite.config.jsにserverを追記
import { defineConfig } from 'vite';
import laravel from 'laravel-vite-plugin';
import react from '@vitejs/plugin-react';

export default defineConfig({
    server: {
        host: '0.0.0.0',
        port: 5173,
        strictPort: true,
        hmr: {
            host: 'localhost',
        },
    },
    plugins: [
        laravel({
            input: 'resources/js/app.tsx',
            refresh: true,
        }),
        react(),
    ],
});
Vite の開発サーバーを起動する
npm run dev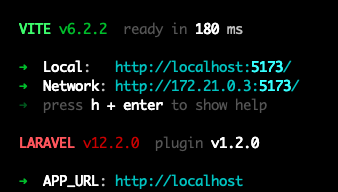
http://localhost:5173/ にアクセス
viteが起動していることが確認できる。
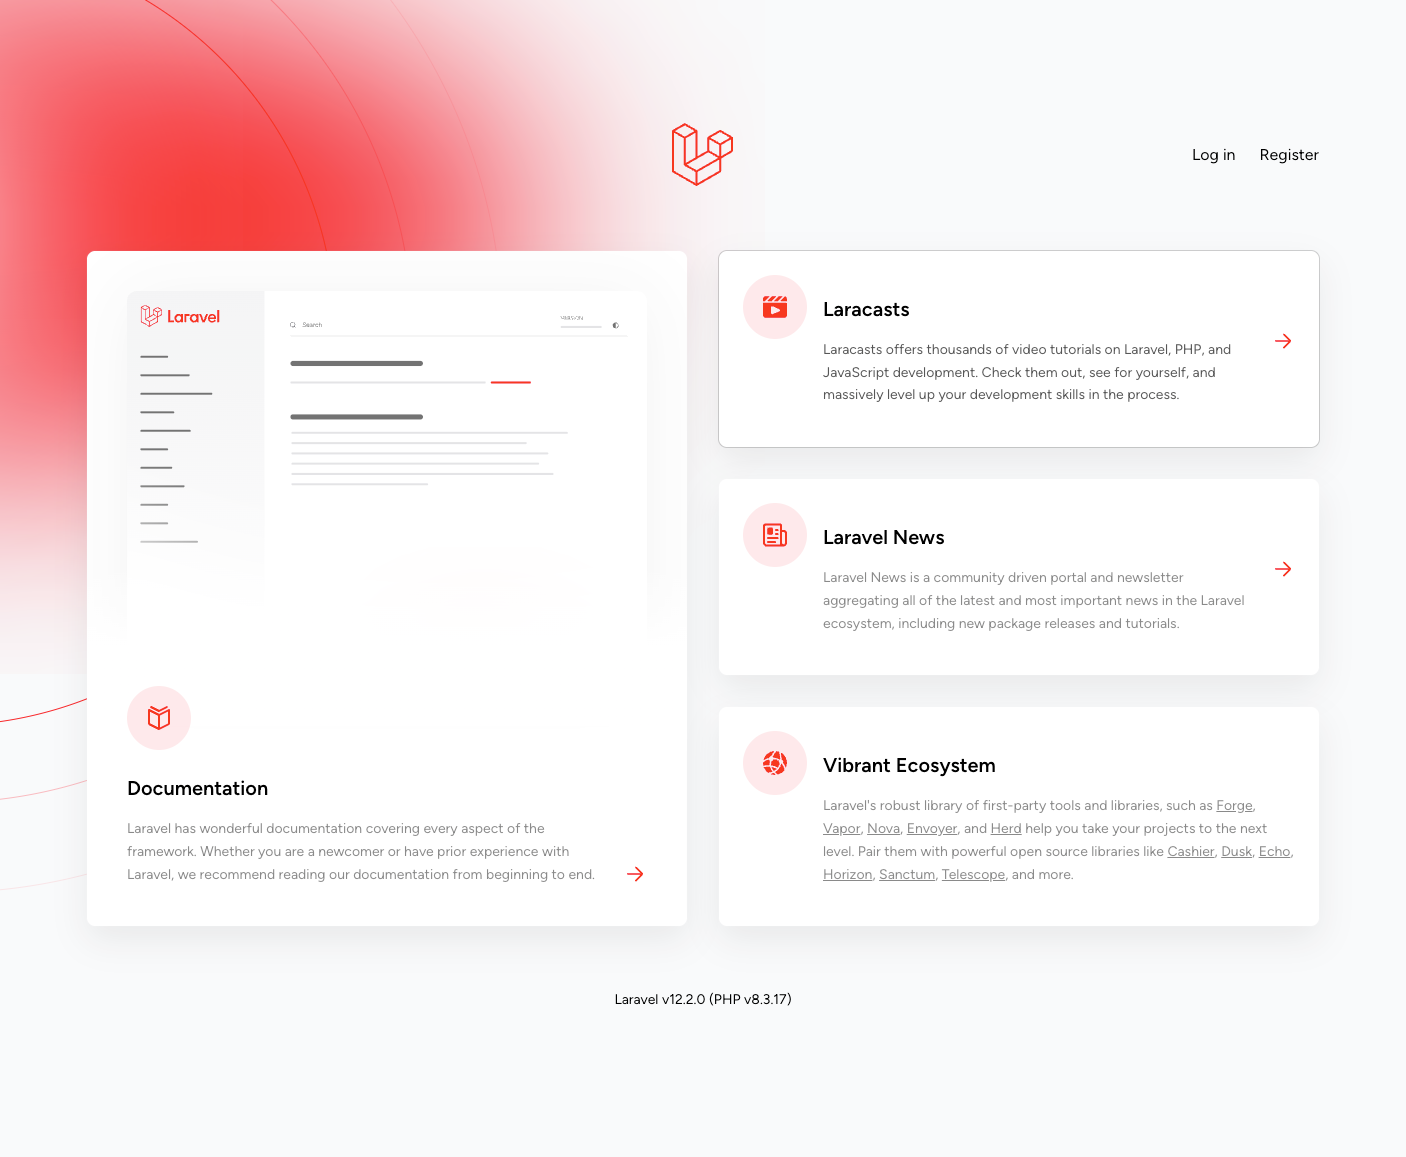
http://localhost/ にアクセス
新たに作成されたWelcomeページ表示される。
右上にbreezeのログイン機能も確認できる。
実際にReactでフロントを作成する
テスト用のコントローラーを作成
php artisan make:controller TestControllerTestControllerに変数と表示を設定。
bladeテンプレートではなくInertiaでReactを表示をするためにはview('test', $array)ではなくInertia::render('Test', $array)と記述します。
<?php

namespace App\Http\Controllers;

use Illuminate\Http\Request;
use Inertia\Inertia;

class TestController extends Controller
{
    public function index()
    {
        $array = [
            'message' => 'これはテストのテキストです!',
            'array' => [
                'text1' => '配列も渡せる?',
                'text2' => '渡せたっ!',
            ]
        ];
        return Inertia::render('Test', $array);
    }
}
表示部分を作成していきます
resources/views/app.blade.php はbreezeが自動で作成してくれます。
@inertia、@viteディレクティブがReactの表示部分になります。
表示を整えるためにBootstrap5.3の読み込みを追記しました。
<!DOCTYPE html>
<html lang="{{ str_replace('_', '-', app()->getLocale()) }}">
    <head>
        <meta charset="utf-8">
        <meta name="viewport" content="width=device-width, initial-scale=1">

        <title inertia>{{ config('app.name', 'Laravel') }}</title>

        <!-- Fonts -->
        <link rel="preconnect" href="https://fonts.bunny.net">
        <link href="https://fonts.bunny.net/css?family=figtree:400,500,600&display=swap" rel="stylesheet" />

        <!-- Bootstrap5.3を追加 -->
        <link href="https://cdn.jsdelivr.net/npm/bootstrap@5.3.0/dist/css/bootstrap.min.css" rel="stylesheet" integrity="sha384-9ndCyUaIbzAi2FUVXJi0CjmCapSmO7SnpJef0486qhLnuZ2cdeRhO02iuK6FUUVM" crossorigin="anonymous">
        <script src="https://cdn.jsdelivr.net/npm/bootstrap@5.3.0/dist/js/bootstrap.bundle.min.js" integrity="sha384-geWF76RCwLtnZ8qwWowPQNguL3RmwHVBC9FhGdlKrxdiJJigb/j/68SIy3Te4Bkz" crossorigin="anonymous"></script>

        <!-- Scripts -->
        @routes
        @viteReactRefresh
        @vite(['resources/js/app.tsx', "resources/js/Pages/{$page['component']}.tsx"])
        @inertiaHead
    </head>
    <body class="font-sans antialiased">
        @inertia
    </body>
</html>
tsxファイルを作成
import React from "react";

type Props = {
    message: string;
    array: { text1: string; text2: string };
};

export default function Test({message, array}: Props) {
    return (
        <div className="container mx-auto">
            <div className="row mt-5">
                <div className="offset-2 col-8">
                    <div className="card">
                        <div className="card-body text-center">
                            <h1 className="text-4xl font-bold text-gray-800">{message}!!!</h1>
                            <p className="text-lg text-gray-600">{array.text1}...{array.text2}</p>
                        </div>
                    </div>
                </div>
            </div>
            <div className="row mt-2">
                <div className="offset-4 col-4">
                    <div className="alert alert-danger" role="alert">
                        Bootstrapは別で読み込まないといけなかった
                    </div>
                </div>
            </div>
        </div>
    );
}
routes/web.phpにルーティングを記述
Route::get('/test', [TestController::class, 'index'])->name('test.index');作成した http://localhost/test にアクセスしてみる
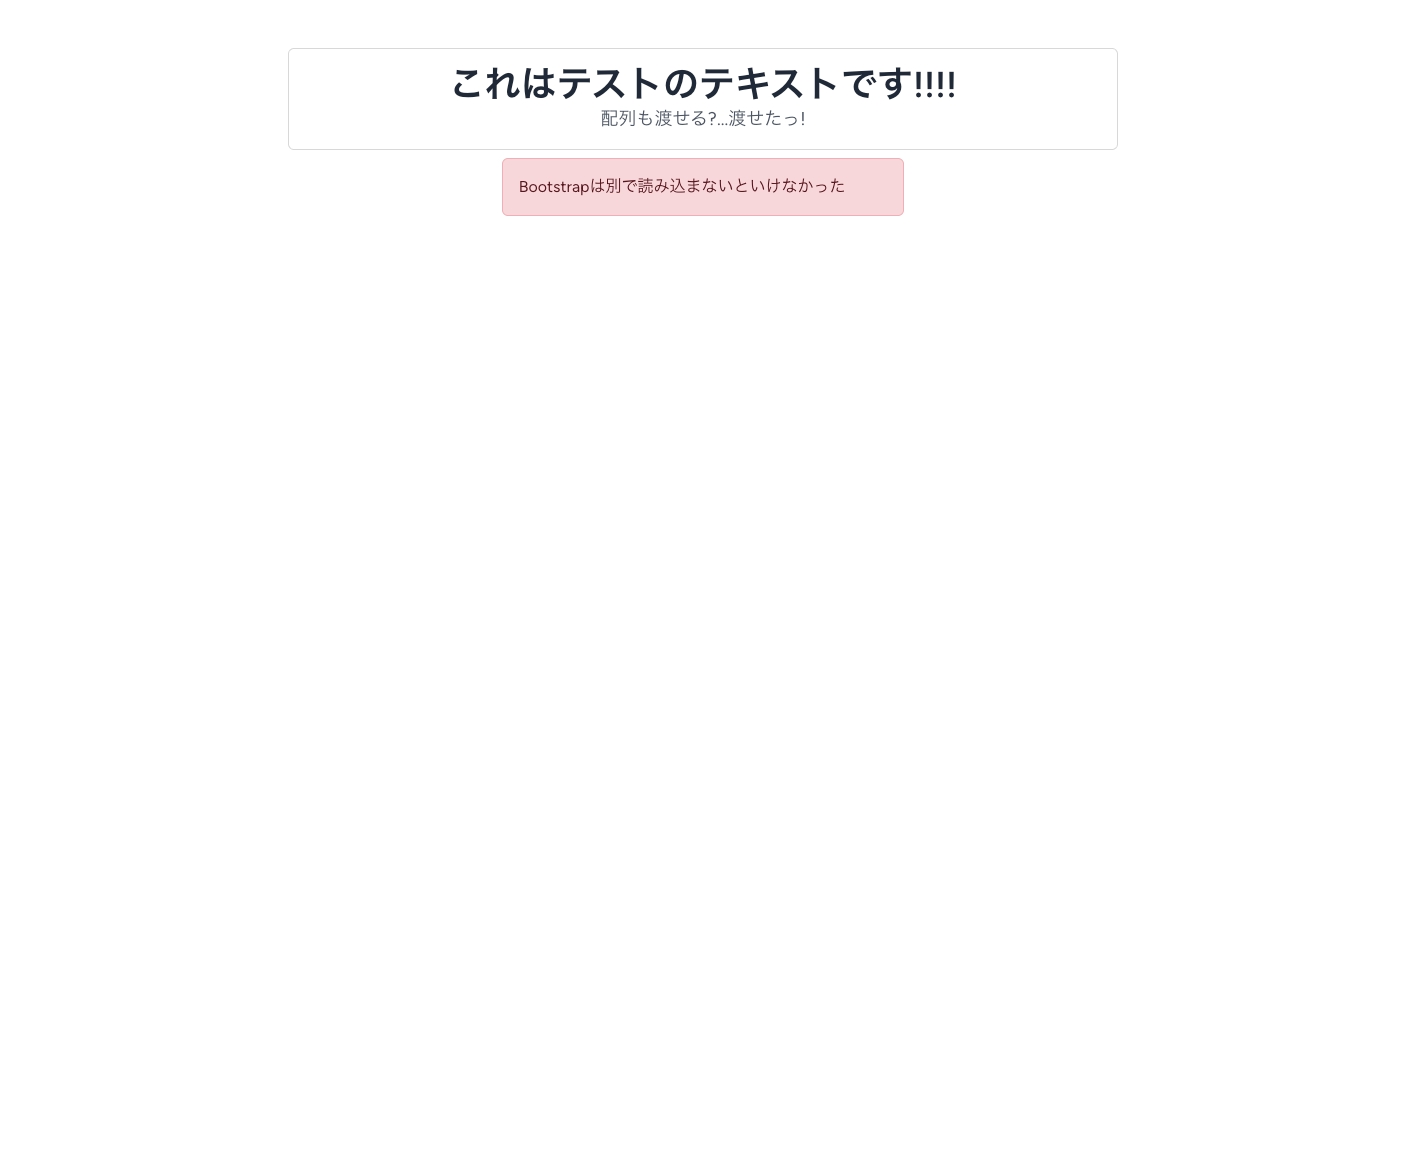
表示できました!
まとめ
今回できる限り低いコストでReactの開発できる環境を目的に作成しました。
以前は得意ではないPython、Django + 新しくReactを始めてしまったのでトラブルが発生した際にどこが原因かを特定するのに時間を取られていました。
バックエンドをPHP、LaravelにすることでReactでのフロントエンド開発のみ注力できるので、この開発環境で勉強していきたいと思います。
おまけ
ある程度Reactわかります。余計な機能は不要ですっていう人は個別にパッケージをインストールして環境を作ることもできます。
サーバーサイドのパッケージを追加
composer require inertiajs/inertia-laravelミドルウェアを作成
php artisan inertia:middlewareクライアントサイドのパッケージを追加
npm install @inertiajs/react